When a recurve bow is unstrung, its limbs cut away from the archer. And it gathers more energy than the equivalent bows with straight limbs. As a result, the arrow gets more energy and speed.
Brace height is the distance between the bowstring and the deepest part of the bow’s grip. If the brace height of your bow is high, it will help reduce bow vibration and noise. And a lower brace height increases the speed of the arrow. Therefore, it is ok to learn how to check and adjust brace height on recurve bow.
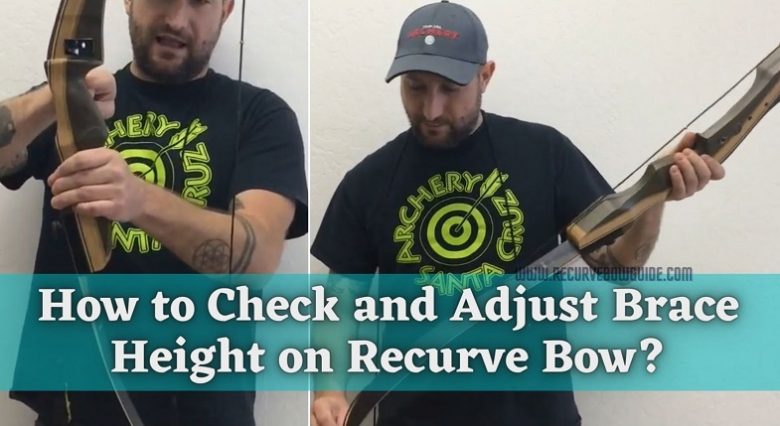
Things to know as an archer: How to check brace height?
To be a skilled archer you do not have to be technical expertise. You just need to learn some basic maintenance skills. For recurve archers as an example, you have to learn how to check and adjust your bow’s brace height.
Some brace height range guidelines for most recurve bows are as follows.
- Bows of 62 and 64-inch will have a brace height range of 7½- to 8½- inch.
- Bows of 66- and 68-inch will have a brace height range of 8- to 9-inch.
- Bows of 70- and 72-inch will have a brace height range of 8¾- to 9½-inch.
To start, you can take the upper half of the range that is recommended. Then you can set your brace height at the middle of that range. For compound bows, getting your brace height can be very easier. You just need to stay close to the recommended range, and you are good to go.
But ensure to always follow the manufacturer’s recommendation for brace height range.
What is Brace Height?
Brace height is the distance between the bowstring and the deepest part of the bow’s grip. Once you have gotten a recurve bow of your choice, you will have to set its brace height. Different bows have different ranges at which they shoot. So their brace height is needed to be set in regards to this range and they are based on the manufacturer’s recommendation.
To get the range that works best for you, you will have to practice with the ranges recommended by the manufacturer. And when you have gotten the brace height that you want, you will have to check it regularly. This is to check for any changes in the brace height, as it may change whenever the bowstring stretches. The brace height can also change if you remove and restring your recurve frequently.
How Do You Adjust The Brace Heights?
Materials needed:
- Bow Stringer
- Bow Square
Stringing your bow.
As mentioned by the manufacturer in the instruction manual, install the limbs of the 3 piece bow. Find the top bowstring loop. This loop is larger than that of the bottom string loop. Next, move the top string loop down to the top limb. Let the bottom string loop slide into the bowstring grooves which is at the end limb. Now you should be able to see the distinctive bowstring grooves, which hold the bowstring, very close to each limb.
Starting from the top limb, attach the bow stringer with the bowstring. Make the end of the bow stringer’s saddle slide over the limb which is behind the string loop. The end of the stringer’s saddle is then opened flat, and it will lie flat on the limb. Gently place the end of the pouch over the tip of the bottom limb. And enclose the end of the pouch to hold the tip of the bow firmly. And now you can string your bow.
With both of your feet at shoulder-width apart, strap on the bow stringer. And to flex the limbs of the bow, firmly hold it at the grip and pull it straight up. Slide the top bowstring loop into the tip of the string grooves limb. And as you go, the bow’s draw weight will be supported by the bow stringer.
Remove the bow stringer when you are sure that the top string loop is secured. Then you turn the bow in such a way that its limbs are facing away from you. It is a prudent move, as this is the position at which you will shoot the bow. The limbs let off away from your body if the bowstring slips off from a limb. This step can make you nervous, and if it happens, you can seek an archery shop for help.
And lastly, see that the string at both string grooves is secured, then your bow is now strung.
Measure your brace height.
You start your measurement from the deepest part of the bow grip. This part is known as the pivot point. You then measure back to the string of the bow which is at rest. For the measurement, make use of the bow square. Clip the bow square to the bowstring and take your measurement from the bowstring to the pivot point. Then you check if the measurement is at your desired brace height. Check if it is too high or too low.
Adjusting the brace height is very easy. You just need to simply twist or untwist the bowstring. Adjust the brace height by adjusting the twists of the bowstring. And then recheck the measurement until you achieve your desired brace height.
Remove the bowstring and make adjustments.
You adjust the bowstring with its twists. And the brace height can be changed by removing or adding twists. For you to adjust the brace height, simply unstring the bow, and remove the string loop at the bottom. You can then twists or untwist the string for adjustment.
For too low brace height, twist the bowstring twice to give about a quarter inch increase to the brace height. For too high brace height, untwist the bowstring a few times to get what you want. After you have adjusted the brace height by adding or removing some twists. Restring the bow and recheck the brace height for any changes.
Note that recurve bow’s bowstrings are usually, three to four inches shorter than the bow’s length. So, it might be that your bowstring is of the wrong length if the brace height is off by few inches. Therefore, bowstring lengths are being suggested by the manufacturer. And they are available either on their website or in the bow owner’s manual.
What should the average brace height be on a recurve bow?
Many recurve bow’s brace height is given to be something around 7.5 inches and 9.75 inches. The brace height of your bow will determine some behavior of the bow. Like the loudness of the shoot and how much pivoting the arrow will travel experience. You can only make up to ½ inch change to the brace height of a recurve bow. Both for increasing or decreasing the bowstring twists.
Recurve bow brace height chart
| Bow Length in Inches | Brace Height in Inches (Min. to Max.) |
| 58 | 7.25 – 8.0 |
| 60 | 7.5 – 8.25 |
| 62 | 7.75 – 8.5 |
| 64 | 8 – 8.75 |
| 66 | 8.25 – 9 |
| 68 | 8.5 – 9.25 |
| 70 | 8.75 – 9.5 |
Conclusion
When installing a new bowstring cable you have to measure the brace height. If you check your brace height and there are some changes. Or the brace height measures more than or different from the brace height of your spec. Then you need to adjust the brace height. You do this by simply adding or removing some twists so that the brace height will match your bow’s spec. I hope this article has helped you on how to check & adjust brace height on recurve bow.